

If you’ve noticed your energy bills creeping up or your home feeling stuffier than usual, your furnace air filter might be sending you a signal. This small maintenance task makes a huge difference in how well your heating system performs, especially during harsh winters.
How to Change Furnace Filter for Better Airflow
The good news? Changing your furnace filter is surprisingly straightforward. Most homeowners can complete this task in under 10 minutes.
Understanding Your Furnace Filter’s Role
Think of your air filter as your home’s respiratory system. Every time your HVAC system runs, air passes through this filter, which traps dust and allergens, pet dander, and other airborne particles before they circulate throughout your living spaces.
Benefits of Regular Filter Maintenance:
- Improved Indoor Air Quality: Clean filters enhance your home’s air quality, reducing dust on furniture and allergy symptoms
- Lower Energy Costs: Dirty filters force your furnace to work harder, increasing energy consumption by 5-15%
- Protected Equipment: Proper maintenance prevents expensive furnace repair calls and extends system life
- Better Airflow: Clean filters allow proper air flow through your duct system
Signs Your Filter Needs to Be Replaced:
- Visible dust and allergens coating the surface
- Filter looks dirty or has a clog after inspecting
- Reduced air flow from vents throughout your home
- Increased energy bills despite normal furnace running
- More dust settling on surfaces in your home’s air
How Often Should You Change Your Furnace Filter?
The standard recommendation is every 90 days, but your specific situation may require more frequent changes. Check your filter regularly during heating season and adjust based on these factors:
- Every month: Homes with multiple pets or severe allergies
- Every 45-60 days: Standard homes during peak furnace running periods
- Filter once a month: Inspect to catch issues early, even if not replacing
- Every 3 months: Minimal usage periods without pets or allergies
The key is actually looking at your filter. If it looks dirty or clogged, it’s time to change the filter regardless of the schedule.
What You Need to Change a Furnace Filter
One benefit of this home improvement task is minimal equipment required:
Essential Supplies:
- Correct filter size: Check dimensions on the cardboard frame (like 16x25x1)
- Flashlight: Helps you access the filter location in dim areas
- Vacuum cleaner: For cleaning around the installation area
- Phone camera: To keep a record of airflow direction
Choosing the Right Air Filter:
- Purchase filters at any home improvement store or hardware stores
- MERV 8-11 ratings work best for most HVAC systems
- MPR ratings indicate filtration efficiency
- Higher MERV ratings capture more particles but may restrict air flow
- Consider reusable filters for eco-friendly home improvement
Step-by-Step: How to Change a Furnace Filter
Prepare Your Work Area
Turn the furnace off at your thermostat or power switch. This safety step prevents your natural gas furnace or forced air system from starting while you work. Never skip this crucial safety measure.
Locate Your Filter
Finding your filter location is the first real step. Check these common spots:
- Return air duct: Often in hallways with large rectangular grilles
- Inside the furnace: Near the blower in the furnace cabinet
- Air return vents: Wall or ceiling-mounted in older homes
If you bought a house recently and aren’t sure where your filter is, check your HVAC system’s manual or look for the largest vent in your home.

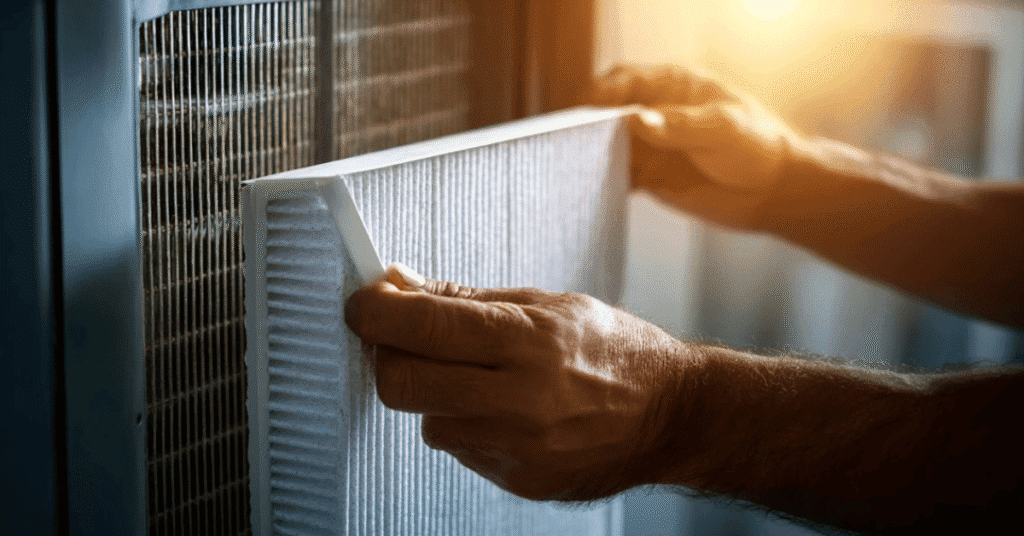
Remove the Existing Filter
Carefully slide the filter out of its slot. Notice the arrow on the filter showing airflow direction. Take a photo of how the previous filter was positioned so you remember which side of the filter faces which way.
If your old filter is completely clogged after just weeks, you may need professional duct cleaning or repair services to address underlying issues.
Clean the Filter Area
While the existing filter is out, vacuum around the filter slot thoroughly. This cleaning step improves air quality and lets you inspect inside the furnace or inside the duct system for problems like:
- Mold growth requiring professional cleaning
- Pest evidence needing immediate attention
- Unusual debris blocking proper air flow
- Visible damage to ductwork needing repair
Install Your New Filter Correctly
This is where many people make mistakes. Look for markings that tell you which direction the filter should face. The arrows pointing on the frame must face towards the furnace, showing the way to install the filter properly.
Installation checklist:
- Arrow on the filter points toward the furnace
- Filter should face the furnace with correct side forward
- Slide the filter in completely without forcing
- No gaps around edges that allow air bypass
- Access panel closes securely
Test Your HVAC System
Turn on your heating system and set your thermostat to call for heat. Listen as your furnace starts:
- Normal whoosh of air through each vent indicates proper installation
- Smooth operation means the new filter isn’t restricting air flow
- Unusual noises may signal installation issues or need for repair
- Strong airflow confirms you’re ready to keep your furnace running efficiently

Common Mistakes When You Change Your Furnace Filter
Direction Errors: The most frequent mistake is installing backwards. The filter should face the furnace with arrows pointing toward the unit. Wrong direction means the pleat structure works incorrectly and reduces filtration.
Size Problems: Using wrong filter size creates gaps letting unfiltered air into your home’s air supply. Even half an inch matters for proper fit and function.
Wrong Filter Type: Choosing filters with MERV ratings too high for your natural gas furnace or HVAC system’s design restricts airflow. This can cause your furnace to work harder than necessary, defeating the purpose of filter maintenance.
Forgetting to Replace: Set reminders to replace the filter regularly. Use a permanent marker to write installation dates on the cardboard frame, or keep a record on your calendar. Time to change arrives faster than you think.
When to Call for Professional Repair or Installation
Sometimes replacing your HVAC filter isn’t enough to solve problems. Watch for these warning signs:
Immediate Professional Help Needed:
- Filter clogs within two weeks of replacement
- Rooms never reach comfortable temperatures
- Strange smells from your vent or return air openings
- Energy bills climbing despite regular filter maintenance
- Furnace cycling on and off constantly
- Visible rust, corrosion, or damage around equipment
Services Requiring Professional Installation:
- Complete HVAC system replacement or installation
- Air purifier or air filtration system upgrades
- Ductwork repair or cleaning services
- Natural gas furnace installation or major repair
- Forced air system modifications
Brands like Lennox and other manufacturers often require professional installation for warranty coverage. Don’t risk your investment by attempting complex repairs yourself.

Making Filter Changes Part of Your Routine
Replace the filter regularly as a small investment that pays dividends in comfort, health, and savings. Whether you get my filters delivered monthly through a subscription or pick them up at home improvement stores, consistency matters most.
Setting Up Your System:
- Buy filters in bulk to always have replacements ready
- Set phone reminders for every 30, 60, or 90 days
- Write replacement dates on each filter’s cardboard frame
- Keep spare filters near your filter location for convenience
- Track filter changes to keep a record of maintenance
This simple home improvement task protects expensive heating equipment and keeps your family breathing cleaner air. It takes less time than brewing coffee yet helps prolong the life of your entire HVAC system while keeping your furnace running at peak efficiency.